

With the Pixel release, Android 7.1 is upon us and it’s never too early to start playing with some new features!
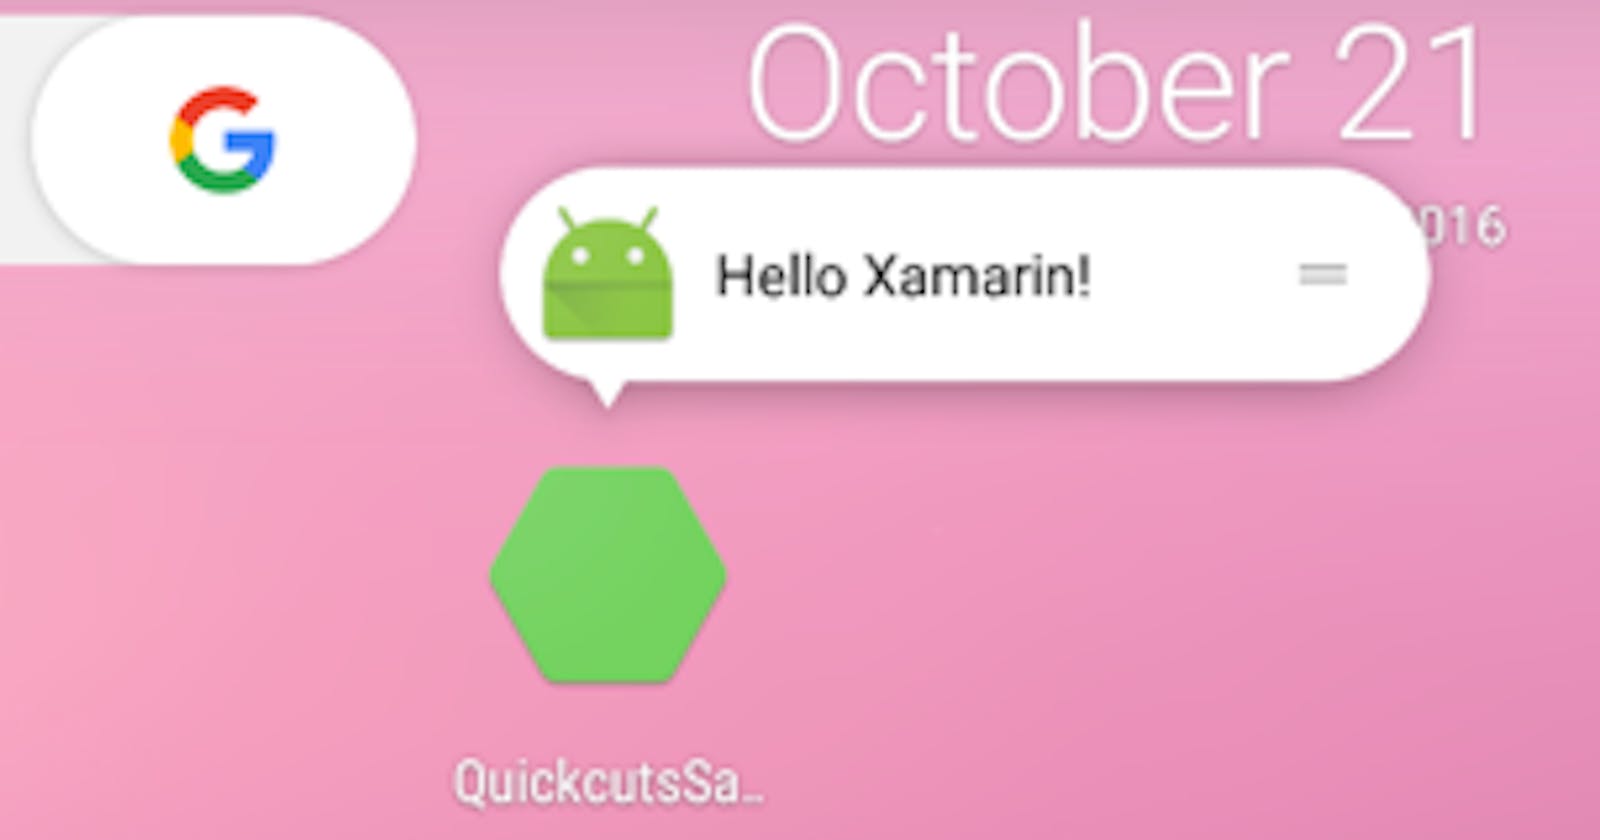
One of the features I’ve been looking most forward to is App Shortcuts (previously known as Quickcuts). This is basically Android’s equivalent to 3D Touch Quick Actions on iOS.
While technically, the Google Now and Pixel Launcher will only support this feature as of 7.1 and higher, a number of other launchers have already added support for App Shortcuts without the requirement of the latest version of Android.
According to Google’s official App Shortcut documentation we can create static and dynamic shortcuts. This post is going to focus on static shortcuts since at the time of writing, we are waiting on a Xamarin update to provide us with the new API’s for creating dynamic shortcuts.
Static Shortcuts
Static shortcuts are declared in a resource file and can’t change. They will always show up the same in your app’s list of shortcuts. For many apps, this is incredibly useful and will probably be what you primarily use.
1. Trick the Manifest
To get started, until Xamarin.Android is updated to support API Level 25, we’re going to have play a small trick on our manifest.
In the application element of your AndroidManifest.xml change, or add a android:targetSdkVersion attribute to have a value of 25.
2. Declare your shortcuts
Static shortcuts are created in an xml resource file. Typically you’ll create a file: Resources/xml/shortcuts.xml.
The format is pretty simple:
<?xml version="1.0" encoding="utf-8"?>
<shortcuts xmlns:android="http://schemas.android.com/apk/res/android">
  <shortcut
    android:enabled="true"
    android:icon="@drawable/icon"
    android:shortcutDisabledMessage="@string/shortcut_disabled_msg"
    android:shortcutId="shortcut-id"
    android:shortcutLongLabel="@string/shortcut_long_label"
    android:shortcutShortLabel="@string/shortcut_short_label">
      <intent
        android:action="android.intent.action.VIEW"
        android:targetClass="com.mypackage.ShortcutActivity"
        android:targetPackage="com.mypackage" />
    </shortcut>
</shortcuts>
You can declare multiple shortcuts in the same file.
Your shortcuts can also each include multiple elements which will be used as the back stack for when your user launches the shortcut. The last in the list will be the one the user sees when they launch the shortcut.
3. Make sure your targetClass is correct
In case you didn’t already know, by default in Xamarin.Android your activities will have their java generated counterpart code named with a hash prefix (for reasons we are not going to dive into in this post). This means that figuring out the correct targetClass to use in your shortcut intent declarations may not be as simple or obvious as you would expect.
Luckily, there’s an easy work around. In your [Activity] attribute, you can specify the java generated class name explicitly by specifying a Name property. You’ll need to give it a full package name and class name, for example:
[Activity (Name="com.mypackage.ShortcutActivity")]
public class ShortcutActivity : Activity { // ... }
4. Map the shortcuts.xml to your Main Activity
Now that you’ve created a shortcuts xml resource file, you need to relate it to your app’s activity which is marked as the Main Launcher. We can do this by adding a simple MetaData attribute to the activity:
[MetaData("android.app.shortcuts", Resource = "@xml/shortcuts")] [Activity(MainLauncher = true)]
public class MainActivity : Activity { // ... }
Now you’re ready to install your app and test out your App Shortcuts! That’s all there is to it!